The Filament's Lament: Troubleshooting Common Tube Failures
There’s a certain poetry to antique radio restoration. It’s not just about wires and schematics; it's about connecting with a past where craftsmanship reigned supreme, where radios weren’s disposable commodities, but cherished investments in connection and entertainment. At the heart of these remarkable machines lie the vacuum tubes – fragile glass vessels containing the very essence of amplification. To understand their operation, and more importantly, to diagnose their failings, is to unlock a deeper appreciation for the ingenuity of the era. A tube failure isn’s simply a component replacement; it’s a lament for the filament’s slow fade, the gas’s desperate clinging to its vacuum, and the potential for lost music. And sometimes, it's a fascinating puzzle to solve.

The Anatomy of a Failure: Identifying the Symptoms
Before diving into troubleshooting, it's crucial to understand the common failure modes of vacuum tubes. They rarely fail in a sudden, dramatic fashion. More often, they degrade – slowly losing their ability to perform as designed. A malfunctioning tube can manifest in various ways: reduced volume, distorted audio, signal loss, or complete silence. Each symptom offers a clue to the underlying problem.
Let's consider a tube exhibiting significantly reduced volume. This could indicate a partial short in the tube, a weakened emission due to plate contamination, or a faulty heater circuit. A hum in the audio, particularly noticeable in quiet passages, often points to a gas leak, leading to internal discharge. Distortion, on the other hand, can be caused by a variety of issues, including grid contamination, plate fouling, or even a bent grid wire – a surprisingly common occurrence during handling.
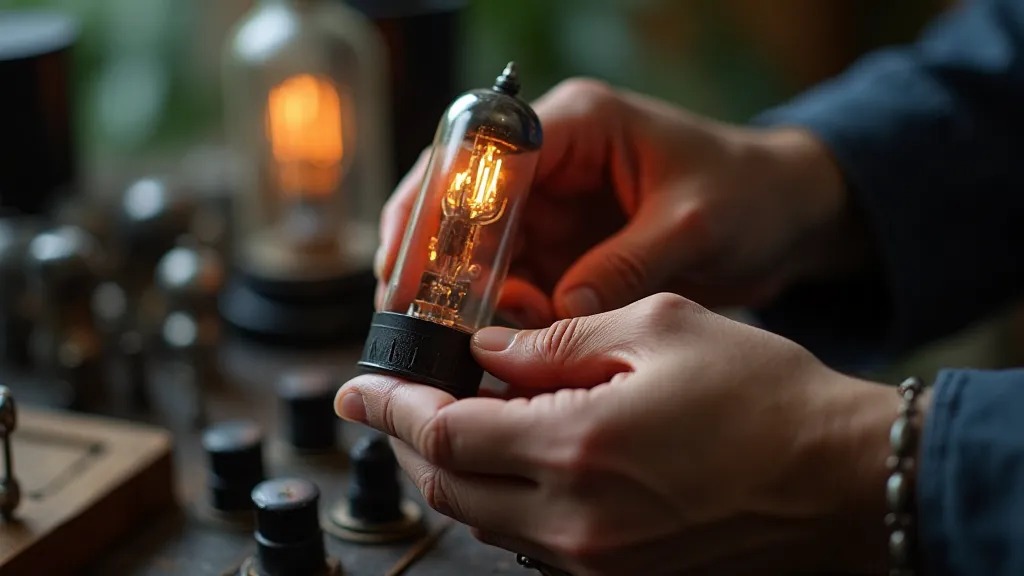
I remember one particular restoration project, a 1938 Philco console radio. The audio was incredibly weak, and a persistent hum permeated the output. After initial testing, several tubes appeared 'good' on the tube tester. It wasn’t until I meticulously examined the output tube, using a magnifying glass, that I spotted a minute crack in the glass, almost invisible to the naked eye. The crack was allowing gas to leak, resulting in the hum. This highlights the importance of visual inspection alongside electronic testing.
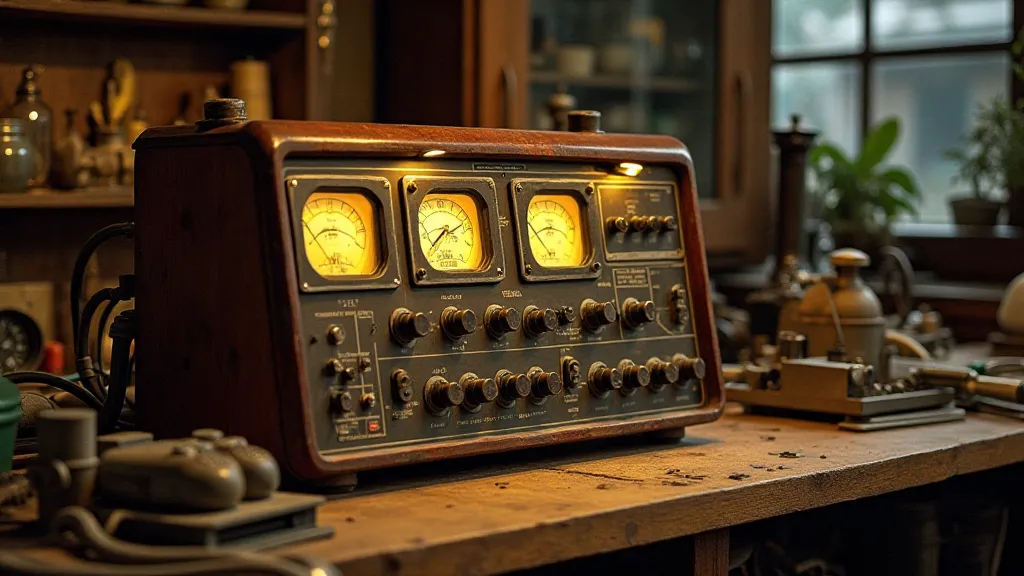
The Tester's Tools: From Simple to Sophisticated
The heart of any vintage radio restoration is a reliable tube tester. While a comprehensive, electromechanical tube tester is the gold standard, offering a wealth of information about the tube's characteristics, it’s not always accessible. Simpler methods, like a basic voltmeter to check heater voltage and plate voltage, can often identify obvious issues. The visual inspection I described earlier, using magnification to examine the internal structure, is also indispensable.
There are also online resources and DIY projects for building basic tube testers. While these may not provide the same level of detail as a dedicated tester, they can offer valuable insights. Before relying solely on a tester's judgment, always remember that these instruments are just tools; experience and careful observation are equally important.
Common Culprits: Troubleshooting Specific Failures
Let’s delve into some specific failure scenarios and potential solutions:
- Heater Failure: This is often the first failure you’re likely to encounter. A failed heater means the tube won’s function. A simple continuity test with a multimeter will confirm if the heater filament is broken. Replacement is the only remedy.
- Grid Leakage: Leakage between the grid and cathode allows unwanted current to flow, resulting in distorted audio or excessive hum. A tube tester will often identify this as a 'grid leaky' condition. While there are techniques to attempt cleaning the tube, these are often unreliable.
- Plate Leakage: This is a more serious condition, potentially damaging other components in the circuit. A high plate leakage current can cause the tube to overheat and potentially burn out. This is almost always a replacement situation.
- Weak Emission: This manifests as reduced gain and lower volume. Plate contamination, often caused by internal gas impurities, is a common cause. While attempts to ‘bake’ a tube to burn off the contaminants have been tried, their effectiveness is often limited.
- Microphonics: This isn’t a failure in the traditional sense, but a characteristic that can be problematic. Microphonics means the tube resonates with external vibrations, producing unwanted squeals and rattles. Careful handling and sometimes even internal damping can mitigate this issue.
The Ethical Restoration: Preservation vs. Replacement
A critical aspect of restoring vintage radios is the ethical consideration of component replacement. While replacing a failed tube with a modern equivalent may seem like a practical solution, it can compromise the authenticity and historical integrity of the radio. Whenever possible, striving to locate and use vintage tubes of the original type is the preferred approach. These tubes, often rare and expensive, preserve the radio's sonic character and value.
Sometimes, however, replacement is unavoidable. In these cases, researching and selecting a substitute tube with similar characteristics is essential. Online resources and enthusiast forums are invaluable for identifying suitable replacements. Documenting any substitutions made is also crucial for future restorers.
More Than Just Components: A Connection to the Past
Working with vacuum tubes is more than just a technical exercise. It’s a journey back in time, a connection to the ingenuity and craftsmanship of a bygone era. Each tube represents countless hours of labor, meticulous design, and a dedication to quality that is often lacking in today's disposable culture. The crackling warmth of a restored radio, powered by carefully selected and expertly tested tubes, is a testament to the enduring appeal of these remarkable machines. The filament's lament, when addressed with care and understanding, becomes a song of preservation – a legacy for future generations to appreciate.