Chromatic Shadows: Unveiling Hidden Information Through Tube Inspection
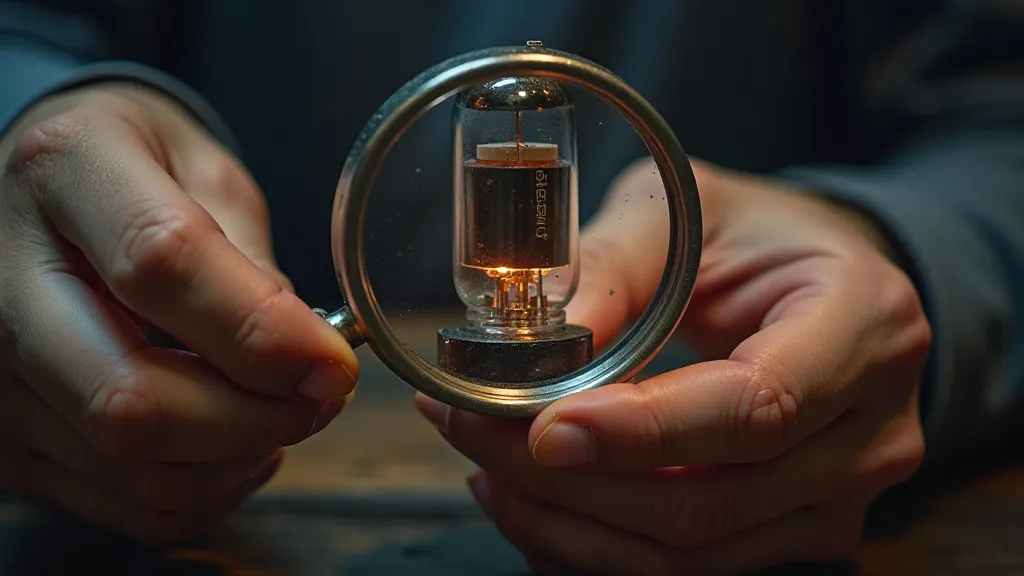
There's a quiet romance to antique radios, a hushed elegance that transcends mere functionality. They weren’s just appliances; they were windows to a different era, handcrafted marvels that filled homes with music and connection. And at the heart of those marvels, glowing softly, were vacuum tubes. Today, preserving these radios often means understanding their delicate hearts – the tubes themselves. While a dedicated tube tester provides quantitative data, a skilled restorer often relies on something more intuitive: a careful, considered visual inspection. It’s about learning to read the chromatic shadows – the subtle signs etched onto each tube's surface that whisper tales of its life and condition.
The Echoes of Manufacturing
Before we dive into what those “shadows” might reveal, let's appreciate the craftsmanship that brought these tubes into being. Imagine the factories of the 1920s and 30s – the bustling activity, the skilled hands meticulously assembling each component. The glass itself wasn’s just blown; it was shaped, often with subtle variations unique to the manufacturer. Different types of glass – some clearer, some more amber-toned – were chosen based on the tube’s intended function and design. Even the markings on the tube, the often-elegant fonts and stylized logos, speak to a period of pride in production. Understanding this context helps appreciate the subtle differences you see today.
Deciphering the Colors of Time
The physical appearance of a vacuum tube is often the first clue to its story. New tubes were typically pristine: clean glass, bright markings, and a uniform appearance. But time, heat, and atmospheric conditions leave their marks. The most common telltale sign is discoloration. A slight amber tint is frequently seen in older tubes, particularly those that used certain glass formulations. This is often harmless, a natural consequence of age and exposure to UV light.
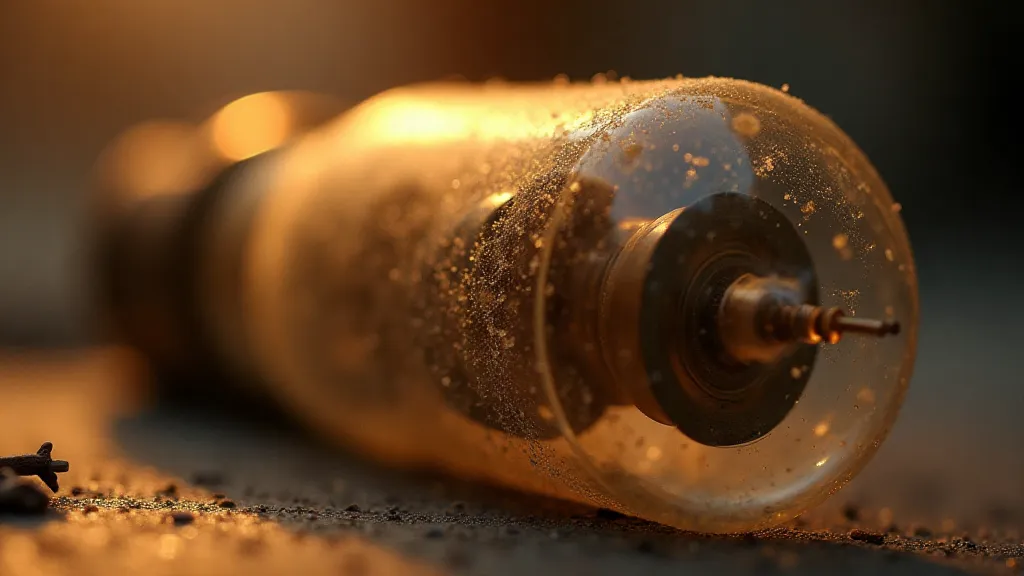
However, more dramatic discoloration can indicate a problem. A dark brown or blackening, especially around the base or plate, might signal “smogging.” This is a gradual deposition of metallic compounds on the internal surfaces, often caused by overheating or contamination. It’s a progressive deterioration that shortens the tube’s lifespan. Occasionally, you might see oily residues on the glass. These can be difficult to remove and are often a sign that the tube has been subjected to unusual operating conditions.
The Base: A Silent Chronicle
The tube’s base, that crucial interface between the tube and the radio circuitry, provides another layer of information. Examine the pins closely. Are they clean and bright, or corroded and blackened? Corrosion suggests exposure to moisture and can lead to poor electrical contact. The base's material itself is informative; early tubes used Bakelite, a brittle plastic that tends to crack and become discolored over time. Later tubes employed different plastics, often more resistant to degradation. The presence of “socket rust” – a reddish-brown residue on the base and socket – is a common sight in neglected radios.
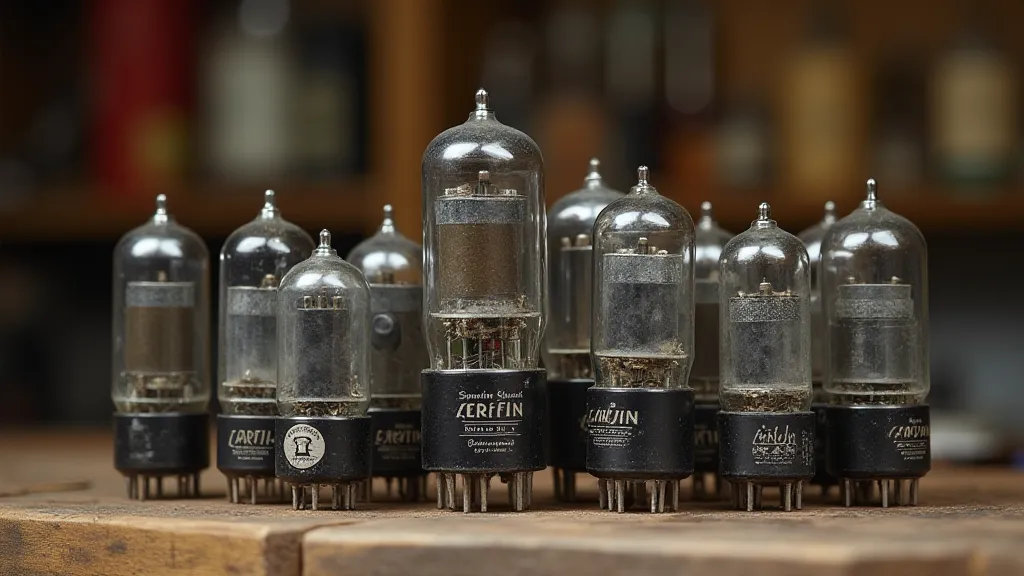
Markings: Unlocking the Past
The markings on a tube are more than just identifiers; they’s historical documents. The manufacturer's logo, the tube type number, and the date code all provide valuable context. The date code, often a combination of letters and numbers, can pinpoint the exact year and week the tube was manufactured. This can be useful in dating a radio or identifying potential compatibility issues. Manufacturers like RCA, Sylvania, and Tung-Sol all have distinct marking styles, allowing experienced restorers to quickly identify the origin of a tube. A tube with a later date code in a radio from the 1930s might suggest a repair or replacement at some point in its history.
Beyond the Surface: Subtle Clues
Experienced restorers learn to look beyond the obvious. A slight bulge in the glass, though often minor, can indicate internal pressure buildup, a sign of potential failure. Cracks, even hairline ones, are immediate red flags. And the weight of the tube – although seemingly insignificant – can sometimes offer clues. A tube that feels unusually light might have lost internal material due to leakage or vacuum loss.
It’s important to remember that not all discoloration or imperfections automatically render a tube unusable. Many “cosmetic” tubes – those with minor cosmetic flaws but good electrical characteristics – can be safely used in non-critical applications. The key is to assess the overall condition of the tube and make an informed decision based on your knowledge and experience.
A Holistic Approach
Ultimately, visual inspection is just one piece of the puzzle. While it provides valuable clues, it should be combined with electrical testing using a dedicated tube tester whenever possible. However, even a basic understanding of vacuum tube characteristics, coupled with a keen eye and a bit of intuition, can significantly enhance your ability to restore and appreciate these fascinating relics of the past. Think of it as a conversation with the past—each shadow, each mark, each imperfection whispers a story. Learning to listen to those whispers is a rewarding journey in itself.
The dedication to craftsmanship evident in these tubes is something we're fortunate to witness. To hold a tube that once brought music and connection to a family decades ago is to connect with a lineage of ingenuity and artistry. The subtle details that a visual inspection reveals, the chromatic shadows that tell their stories—these are the details that bring these antique radios back to life, preserving their unique charm for generations to come.